This week we had a guitar come in with a… uh… a story to tell. The owner (let’s call him “Bill”, for reasons you’ll soon understand) bought this guitar in with some interesting problems:
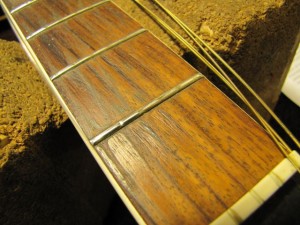
The frets were extremely worn – this is “Bill”‘s first guitar, and has seen a lot of playing in the 20 years or so since he bought it:
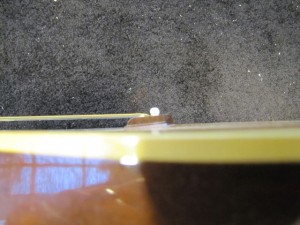
Top had a significant belly in it, and the bridge had pulled forward dramatically. This is fairly common on older guitars, but this one has it particularly bad:
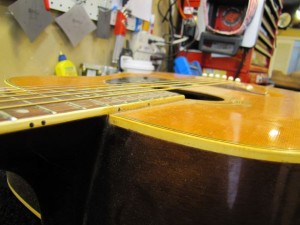
The neck had also pulled up over the years (also a common problem on older acoustic guitars) – the neck angle was now way off, and caused the action to be extremely high:
(It’s hard to see in the picture, but the angle of the neck should be pointing towards the top of the bridge – this one is pointing at the bottom.)
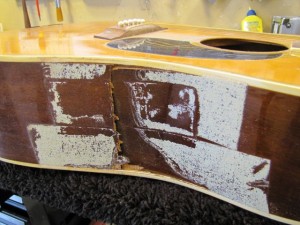
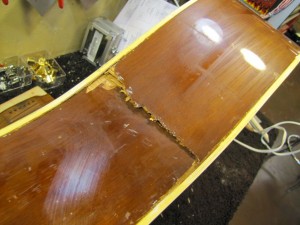
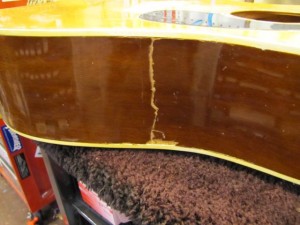
And the coup de gracé – his wife had SMASHED HIS GUITAR OVER HIS HEAD during an argument:
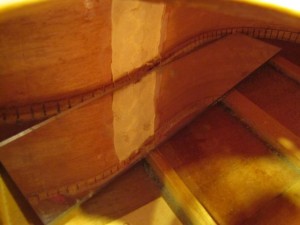
(“Bill” had taped the crack with duct tape, which we removed – the white stuff is the remaining adhesive residue. Remember, if you absolutely have to put tape on your guitar for any reason, use gaffer’s tape. It’s just as strong as duct tape, but easier to work with and it doesn’t leave a sticky mess everywhere.)
Although the guitar was in REALLY bad shape, he didn’t want to part with it – it was, after all, his first guitar, and they had been through a lot together. So here we go…
The first order of business was to fix the giant crack in the side that “Bill”s head had gone through. Doing this in order is important: the entire structural integrity of the guitar depends on the sides of the guitar, and when it’s broken like this there’s not really any good way to address any of the other issues. We started by cleaning up all the excess glue that was left over from the duct tape with naptha, polish cloths, and a lot of elbow grease:
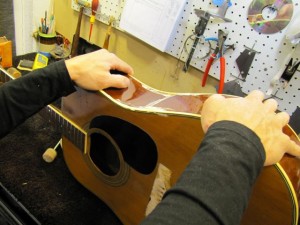
Next we had to mate the two broken halves of the side back together. This was a two-man job: one to flex the sides, one to glue. It was a pretty nasty break, and took a lot of flexing, glue, and clamps to get it set in the proper place. Here’s Benjamin’s hands flexing the joint, while Geoff moves in with the glue:
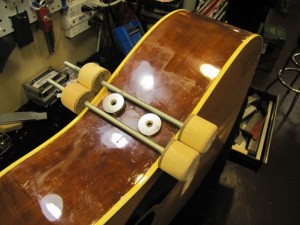
The two halves held together with clamps and super strong rare earth magnets:
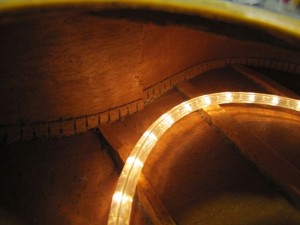
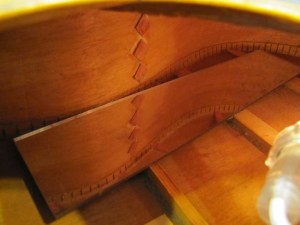
Once we’ve got an initial set with the glue and clamps, we reinforce the joint with wooden cleats. We check the insides with a flexible light and mirrors:
(Before the fix:)
Just to be on the safe side, we then reinforce the whole thing with Muslin cloth. We do this by soaking the muslin in glue, then overlaying it over the joint and allow it to cure. This makes for a SUPER strong joint – it’s actually stronger now than any of the other joints on the guitar.
Here’s the newly fixed crack, before finishing:
Next time we’ll be documenting the next stage of the process, removing the bridge and de-bellying the top. Stay tuned!


