Splitsville
by Geoff Luttrell
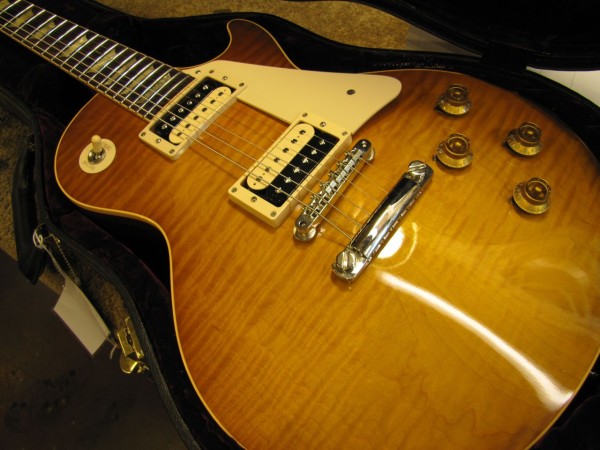
Whether it’s from a large corporation, small boutique builder or one off, I’m rarely surprised by poor build quality, but when a brand new $6k + guitar comes off the assembly line and needs to go straight to the repair shop, I just have to shake my head. The guitar that set me off this time was a beautiful Les Paul, a Custom Shop Historic Reissue, supposedly the best of the best. My customer brought it to me because the guitar had high action along with terrible fret buzz in the 12th-15th fret area. There was also a long split along the grain on the back of the neck just under the truss rod nut. He was very upset about the state of his instrument, especially considering he had just paid a shop to set it up, which is where the neck was split, and he couldn’t believe that an instrument at this price point would need work in the first place. I told him that I would assess it and get back to him with a scope of work and an estimate. Where to start? Let me tell you about it…
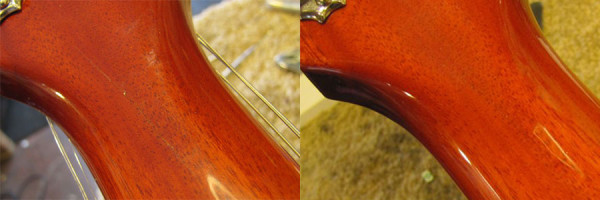
The first thing was to determine why the neck had split (Fig.3), and what was going on with the truss rod. The truss rod was very tight, and the neck still had about .020″ relief, which is about 3 times what I usually set. I removed the truss rod nut to inspect the wood around the truss rod washer. It was so tight I was surprised the rod hadn’t broken. Upon removal, I found the wood extremely compressed, leading me to believe that the truss rod route was too deep or the neck had been thinned too far in final shaping. Also, the back of the neck was so thin that the over tightened truss rod nut compressed the wood, bulged it and split the neck. I test clamped a rubber caul to the back of the neck to try and close the split, but it wouldn’t shut. The compressed wood was keeping it open. What to do? I really didn’t have any good ideas at this point, so I sat on it for a few days.
These types of problems just bounce around in my head until a solution comes, and this one came late at night. I woke up and realized that I could remove the wood around the truss rod to a depth that would allow the truss rod nut to apply pressure to the solid neck wood beyond the split. This would also remove the wood that was keeping the split from closing so I could glue it shut. Simple, no? Well, no…
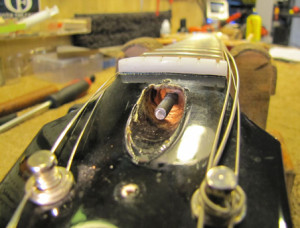
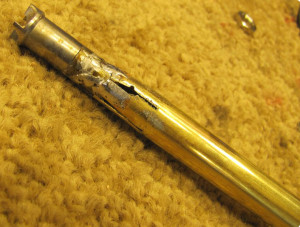
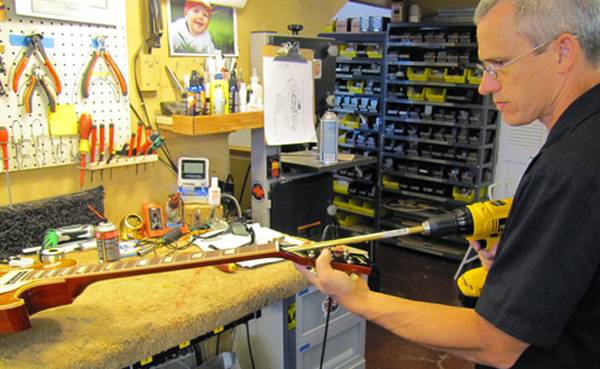
After talking with the owner about the path, risks and cost, I went for it. The only tool that would remove the wood right around the rod (Fig. 1) without jeopardizing the neck was the StewMac truss rod rescue kit. This kit is used when a Gibson truss rod has broken at the headstock, and it allows for the removal of wood around the rod, which can then be re-threaded so the nut can be installed, but a bit deeper in the neck. It’s fantastic and has saved many necks here at the shop. I started it by hand as is usual, but bottomed out the tool before I got to the depth I needed. My workaround was to solder a brass tube (Fig. 2) to the rescue kit cutter, which allowed the tool to reach well beyond any depth I would need. I chucked my ugly contraption up in the drill and went to work. I had to re-solder it a couple of times as the solder joint was not optimal, but with some time it cut beyond the split, which closed on its own. So far so good.
The recess around the truss rod was now quite deep, so I added 4 spacers that came with the rescue kit, threaded on the nut and tightened it. The split did not open. Whew. I pulled the nut and spacers, flexed the neck to open the split and glued it shut. After a quick color match and a lacquer fill, you’d never know it ever had a problem (Fig. 3).
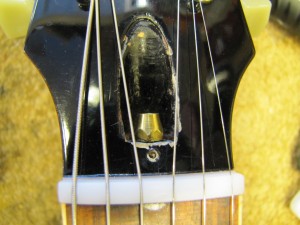
The spacers then went back in, and I installed the stock Gibson washer under the nut so it looked, to the casual observer, untouched (Fig. 4).
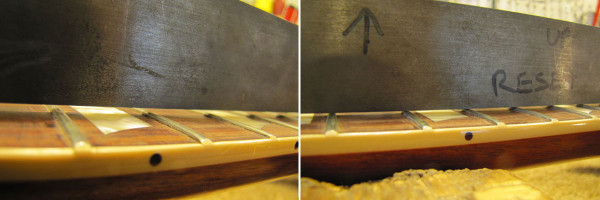
Problem was, it still had way too much relief (Fig. 5), so I decided to do a heat press. This process uses heat to soften the glue joint between the fingerboard and the neck so that the neck can be bent backwards to remove the excessive forward bow, or relief. This is another process that can save necks that seem beyond repair, and it worked great on this one. After the heat press, the neck was straight (Fig. 5) with the truss rod right in the middle of its range.
Now I had something I see every day—a Les Paul that needs fretwork! The fingerboard had a pronounced kick at the end, which was causing notes to fret out when bending in the middle of the neck. It was much better than when it came in, but still played like a dog with higher action than its owner wanted. I scanned it in the Plek and determined that it would take a Plek leveling, but the frets above the 12th would be so low that the fingertips would drag on the wood when bending. The decision was made to go all in with a stainless re-fret and new bone nut. The guitar was worth it, and the owner wanted a guitar that played like a million bucks, since that’s about what he had in it. I pulled the frets, planed the board in the Plek, then went forward with the re-fret and nut. After a careful set-up, the guitar played and sounded phenomenal. All the work, allowed the good tone of this specific guitar to shine.
So what have we learned? First, anything can be fixed if you are committed to the project. Next, and this is a disheartening fact, no matter how much a guitar costs, it may not be built correctly. It’s not uncommon that we see brand new acoustics that need neck resets. Most guitars we see in the shop, in order to play exceptionally well, greatly benefit from a trip through the Plek, followed by a careful and precise set-up. Lastly, as a tech, I must always pay attention and expand my skills. Other than lack of knowledge or impatience, there is no reason the split in the neck should have happened in the first place. Any skilled tech should have known not to over tighten the truss rod. Glad I’ve never made a mistake… Thanks for reading!
