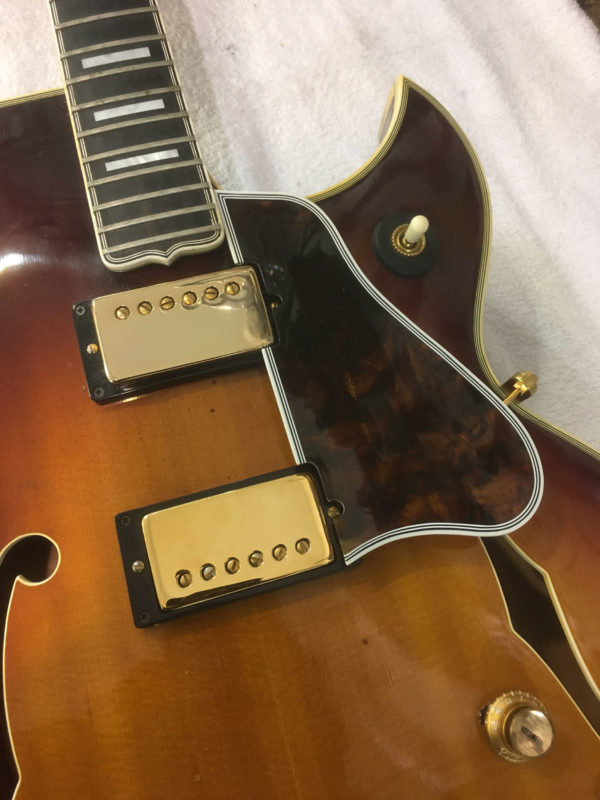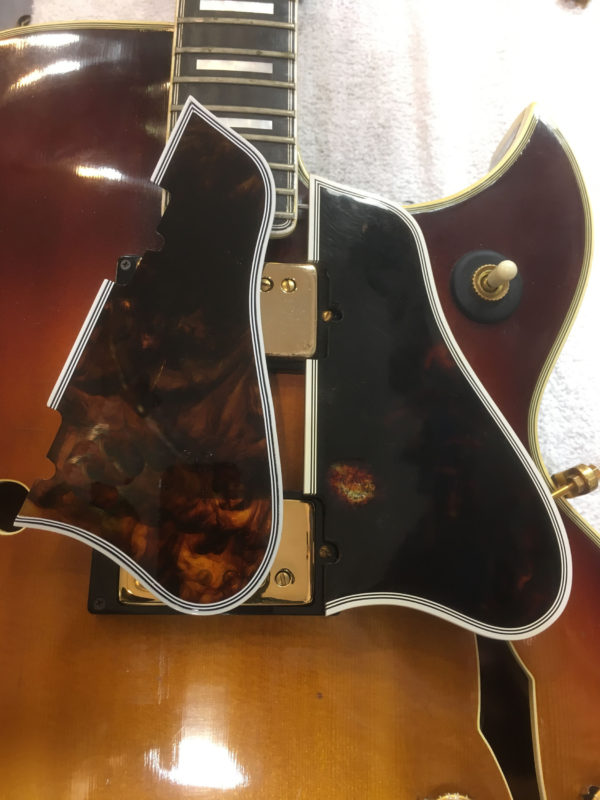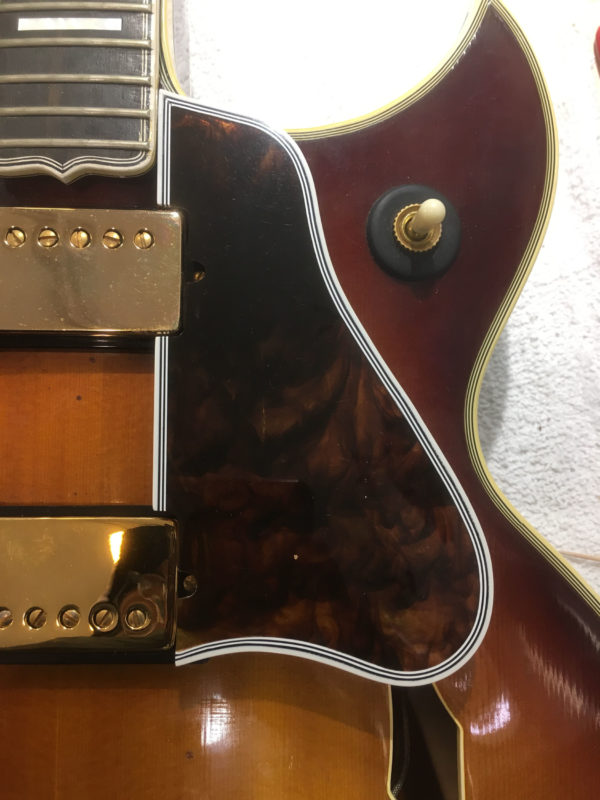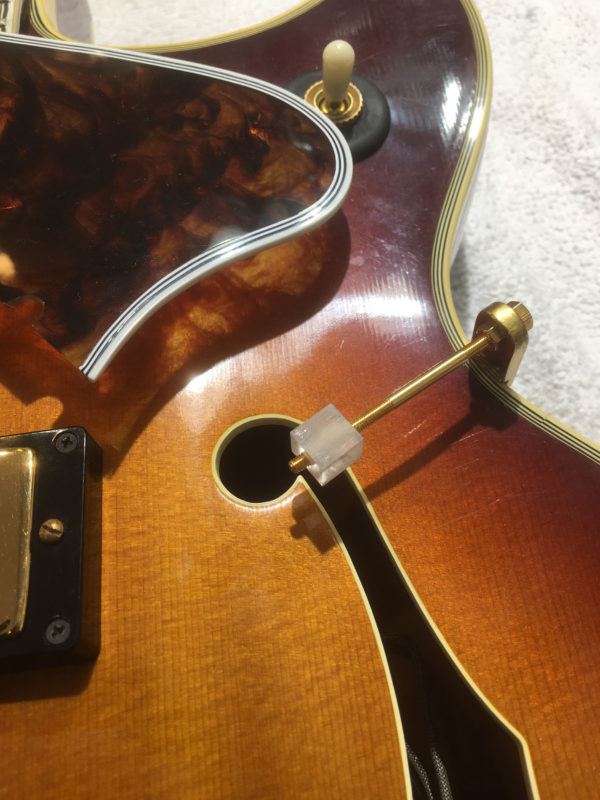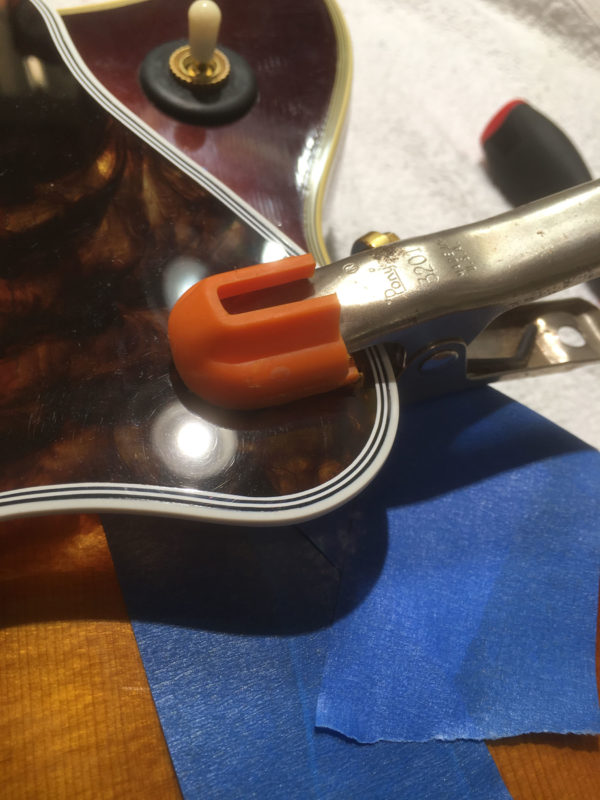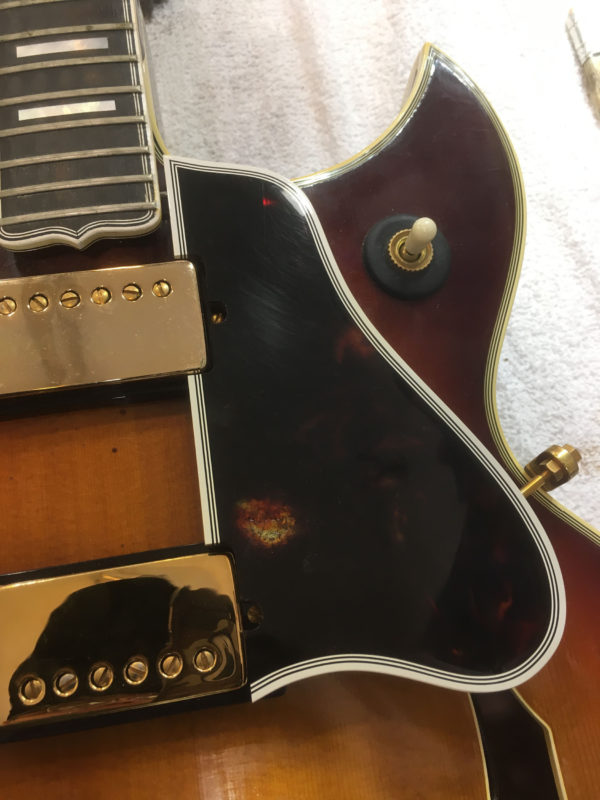
This gorgeous 60s Gibson Byrdland was brought out of the closet and brought to us for a freshening up. It survived the years in mostly fantastic shape except for the pickguard.
Of the surprisingly few materials used in making guitars—wood, metal, finish and plastic— plastic doesn’t hold up as well as the rest. This pickguard is the perfect example. Older pickguards and binding were made from a type of plastic called celluloid, which is a made from nitrocellulose and camphor. Celluloid was widely used to make film stock.
It looks great, but over time it degrades due to the camphor molecules migrating out of the material. When it degrades, it will often damage and corrode anything near it. In this case, the pickguard severely corroded the bridge pickup cover, so both needed to be replaced.
Turns out a replacement pickup cover is hard to find and expensive due to the narrower than normal string spacing at the bridge so we sent this cover out to be replated. Once replated, the pickup cover was a simple remove and replace.
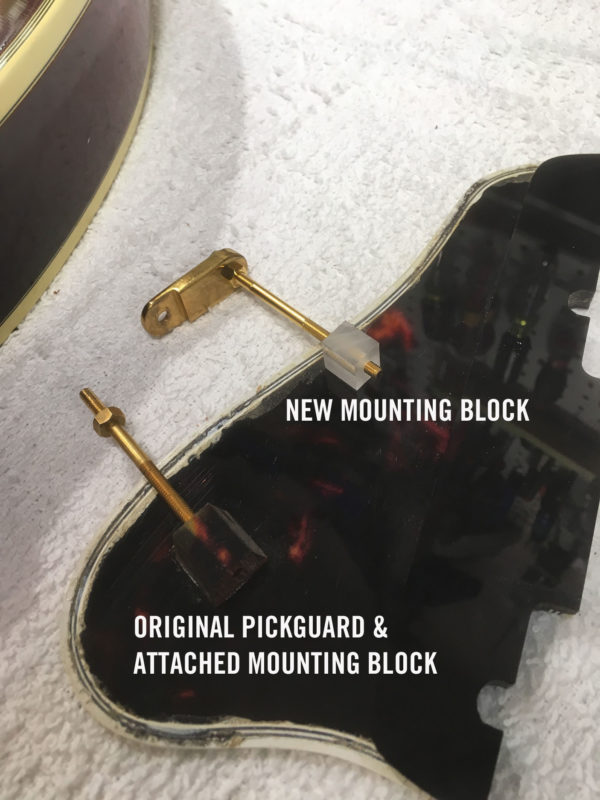
However the replacement pickguard was easy to get but takes work and a bit of finesse to install. The majority of carved-top guitars use a “floating” pickguard, which is affixed to the guitar by a small mounting pin that inserts into the side of the neck, and by a bracket that attaches to a plastic mounting block underneath the guard. This design provides adjustability to the height of pickguard allowing the player to find a comfortable playing position.
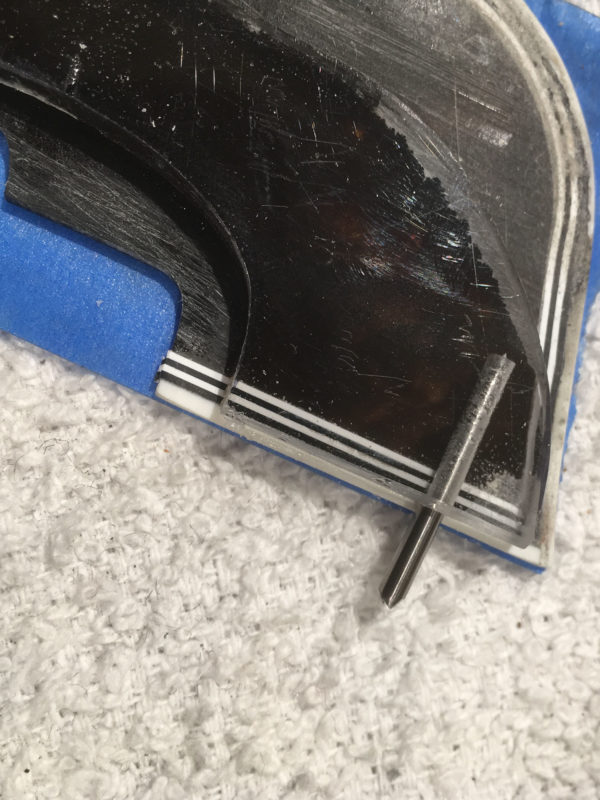
Neither the small mounting pin or a plastic block used to affix the pickguard to the guitar were on the replacement ordered from Fox Guitars, so both needed to be added in order to do the install.
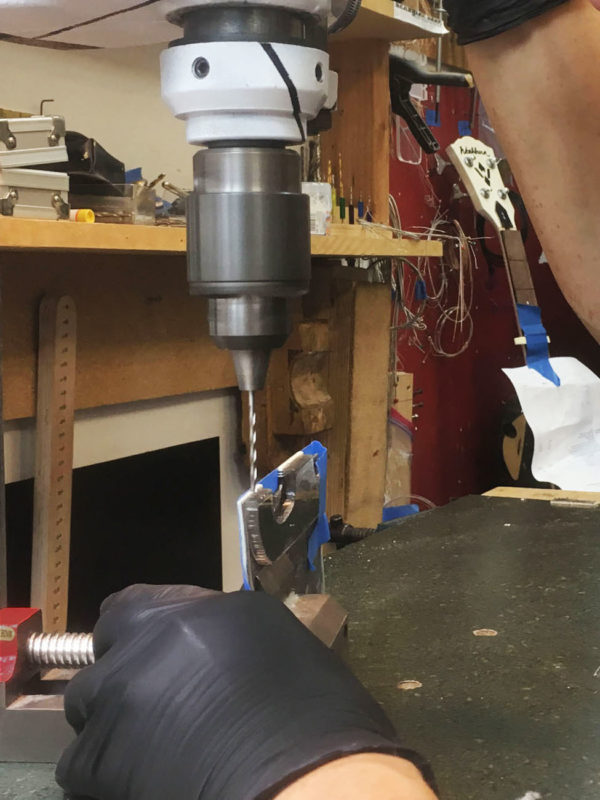
The first thing that we did was install the small mounting pin.
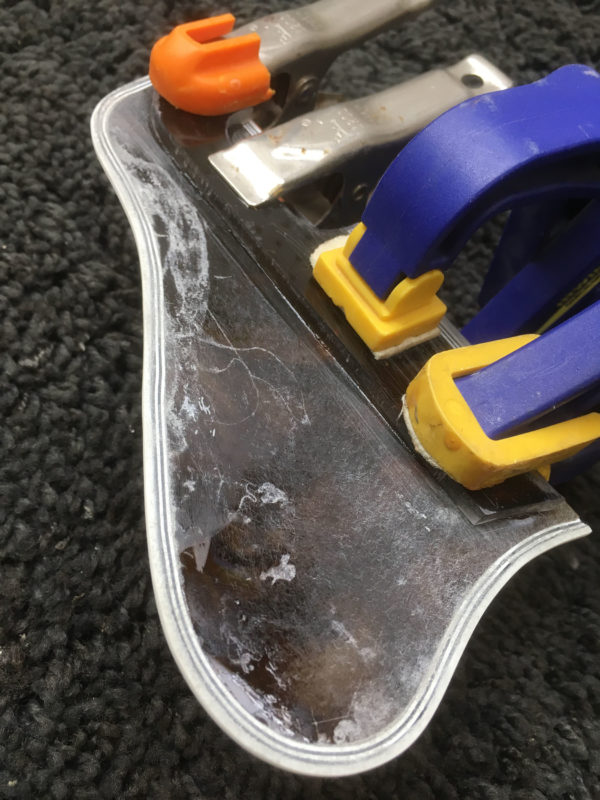
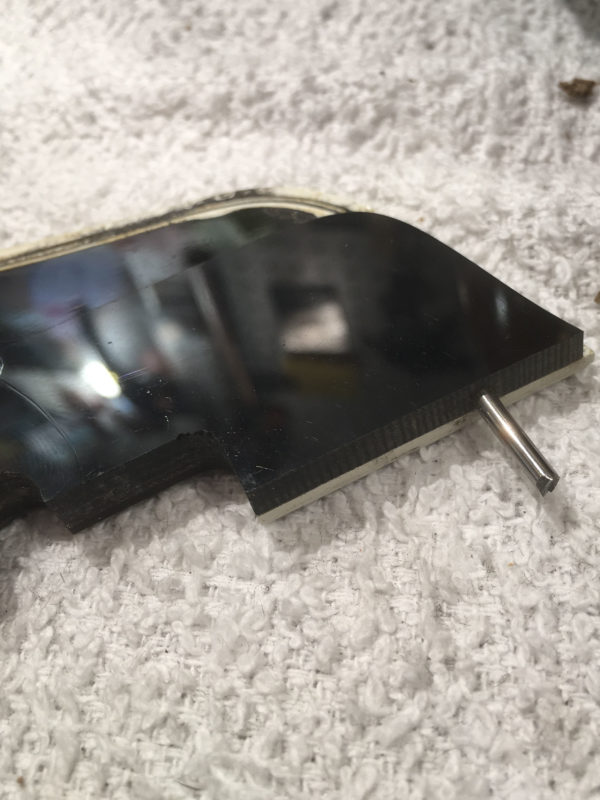
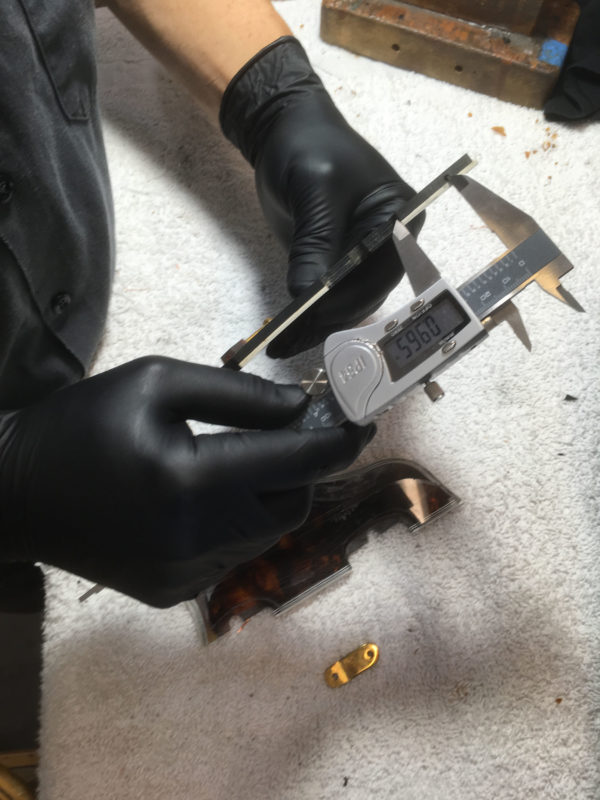
I started by gluing a plastic backing strip to the edge of the guard.
This does several things—It stiffens the guard, minimizes warping, and allows enough thickness to drill for the mounting pin.
With the mounting pin now installed in the new pickguard, I could insert the pickguard into the neck and get started on the bending and aligning process.
After the glue cures, the clamp comes off and it’s all done. The new guard looks really nice, and after a Plek and setup, this thing will make Ted Nugent proud.
