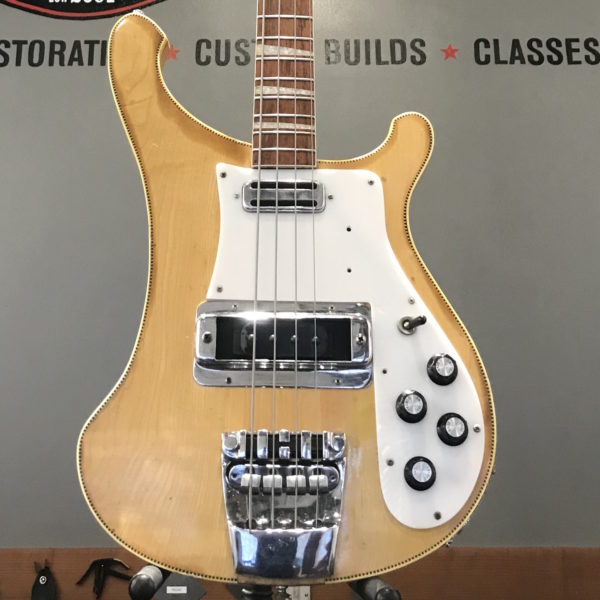
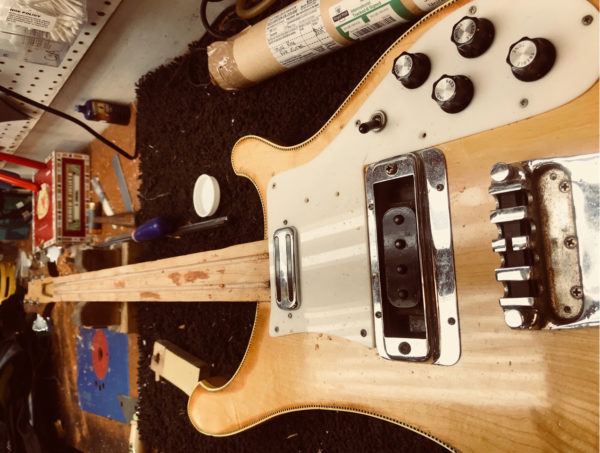

This early 70’s 4001 was shipped to us from the East Coast, after the owner became frustrated with the non-working truss rods and decided to pull the fretboard. The board was pulled with a fair bit of damage to the edges, wood left stuck to the neck and some chipping on the inlays. The truss rods were glued into the neck, which must have happened at the factory, so they never worked. The rods were pulled from the neck and looked like pretzels when we got the bass. Our job was to clean the truss rod channels, install new rods, reglue the fretboard and then refret it.
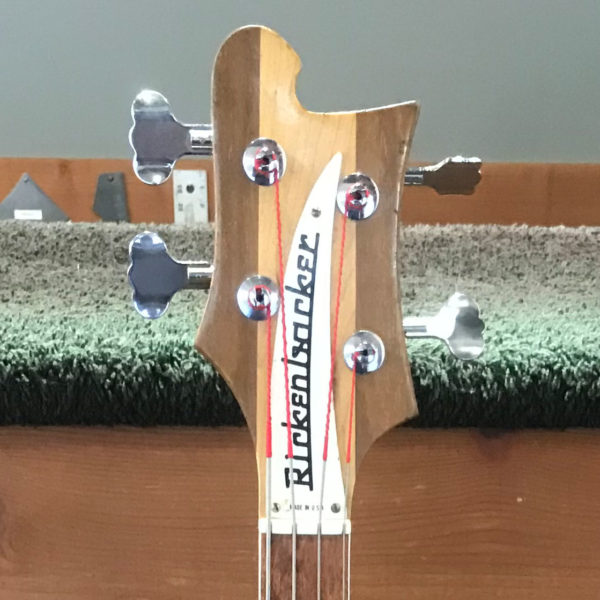
The fingerboard was in pretty sad shape, and was scraped smooth and fit to the neck shaft. We had a few small gaps on the very edge, but we could deal with those later. Once the fingerboard was fit correctly, the rods were installed and the fingerboard was glued. We glued it with a bit of backbow in the neck, as these necks are not very stiff, and will pull up significantly with string tension.
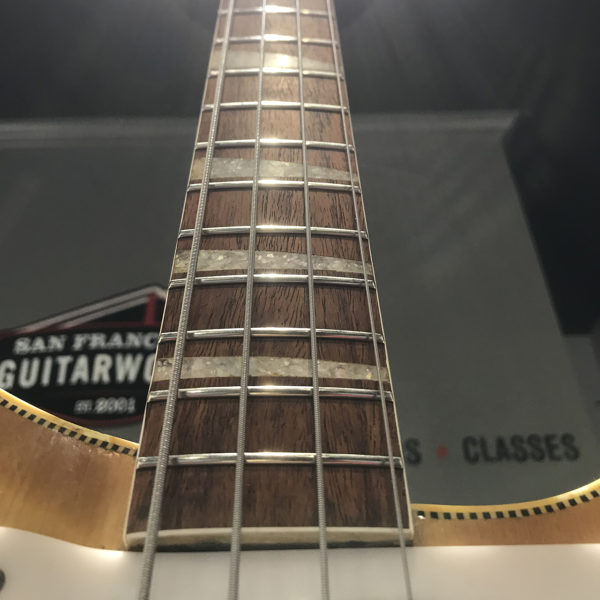
With the fingerboard back on, we were able to fill the slight gaps on the edge with a color matched epoxy putty which did a great job aesthetically. You couldn’t see the damage after we were done.
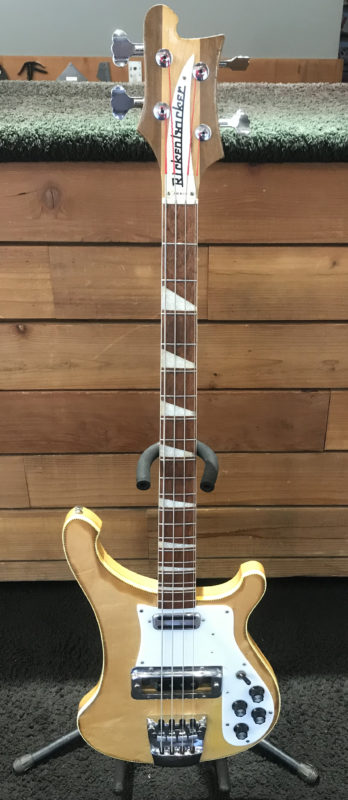
Now we were into the refret, which encompasses planing the fretboard in the Plek. Rickenbacker necks are finished after the frets are installed at the factory, so they often feel like they have tiny frets, and playability suffers as a result. On this job, as on many Ric refrets we’ve done, we left the board unfinished. This gives a bit more fret height, and the board can always be sprayed in the future. It also saved the client a few bucks. We then prepped the fret slots, preparing and pressed the frets, then leveled them in the Plek. Not much left at this point other than the setup. The bass played and looked great when we were done, which was quite satisfying as it was a real wreck when it arrived.