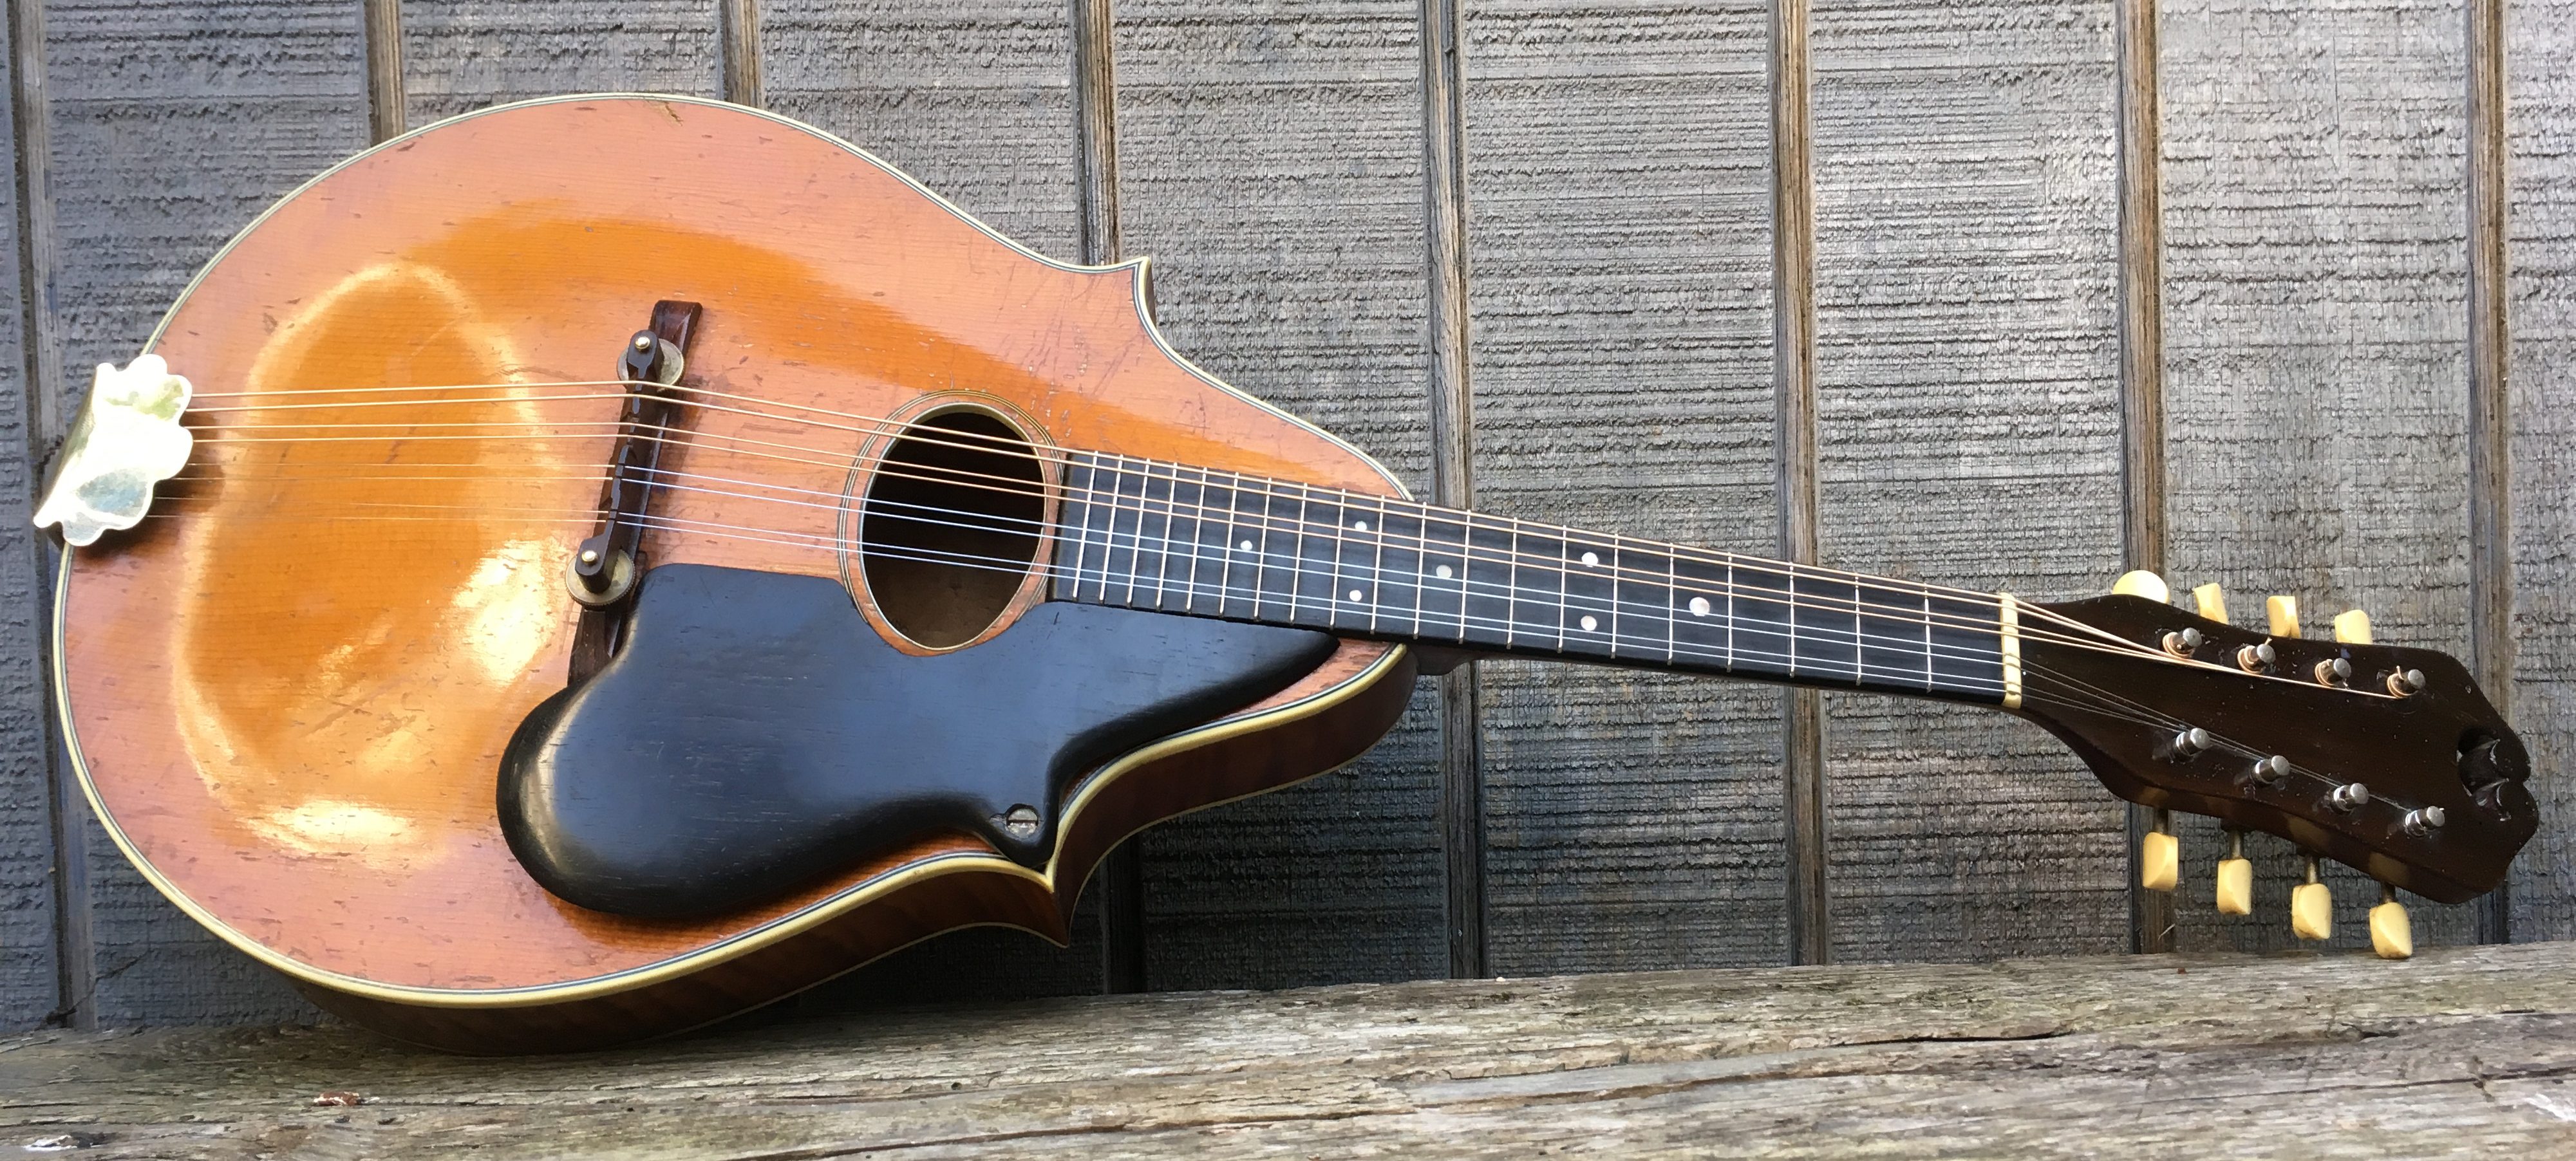
Raising The Bar(s)
Recently, we had the pleasure of resurrecting this rare and unique 1920s Martin Style-20 mandolin. Due to age, string tension, light bracing and a tiny tail block, the top of the Mandolin had sunk between the bridge and tail, causing the bridge to sit very low on the body making the action too low to play. Additionally, the frets were worn and uneven, causing buzzing and choked notes. Despite the extensive work needed, the customer’s decision to have us restore it was an easy one due to the unique history and cool details of the Style-20.
It was not only the first mandolin made by Martin with a carved top and back, but the production runs on this model were low, at around 200 produced in total, making it rare. Although similar to the typical A-style mando, the Style-20’s slightly larger body gives it a nice midrange sound, allowing for a distinct and mellow tone. The double-point teardrop body with flamed maple back is unique as well. We were excited to get started on the repairs in order to hear this instrument’s unique and tasty sound.
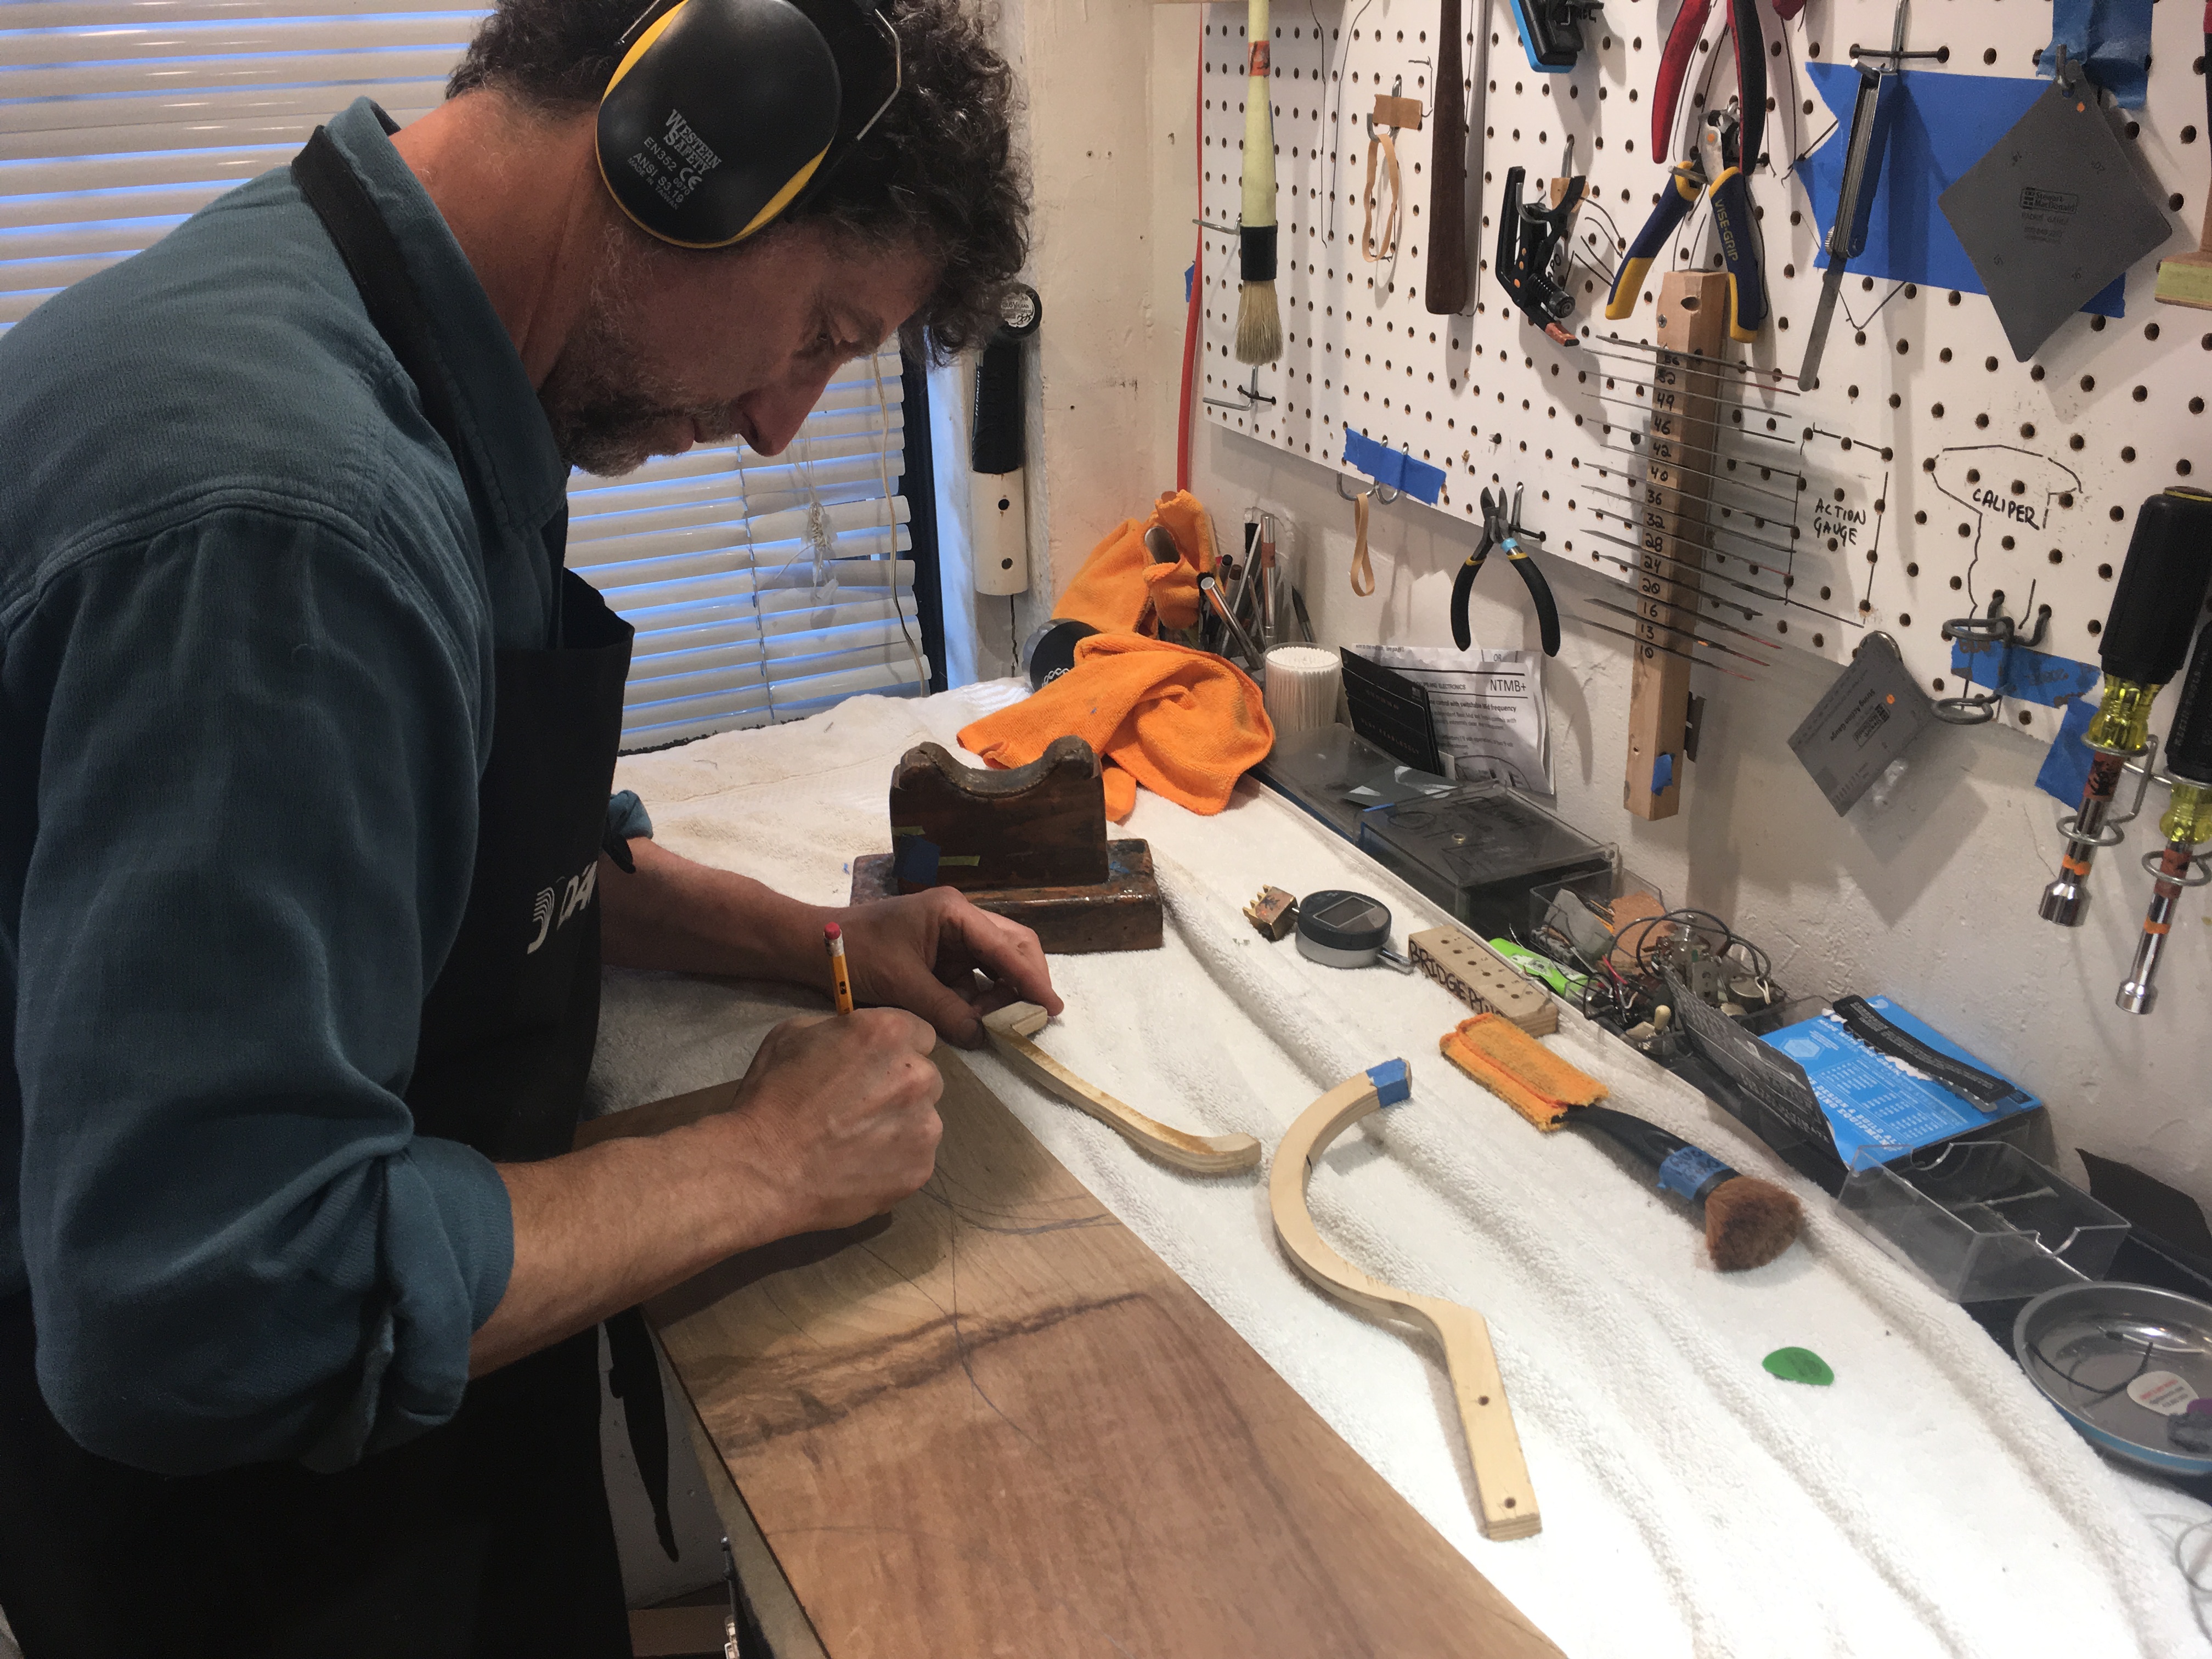
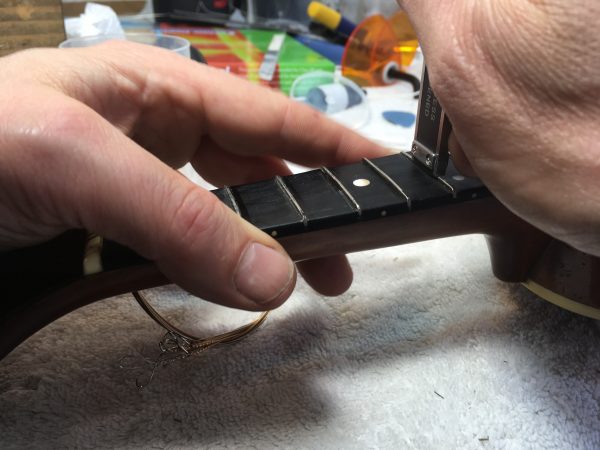
Inserting the lever

The lever clamped
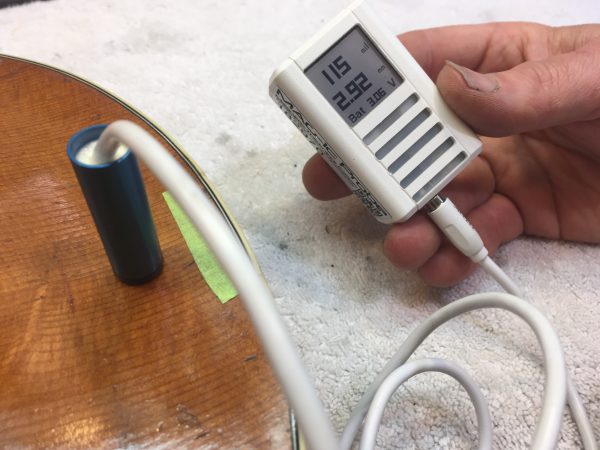
- MAGic-Probe
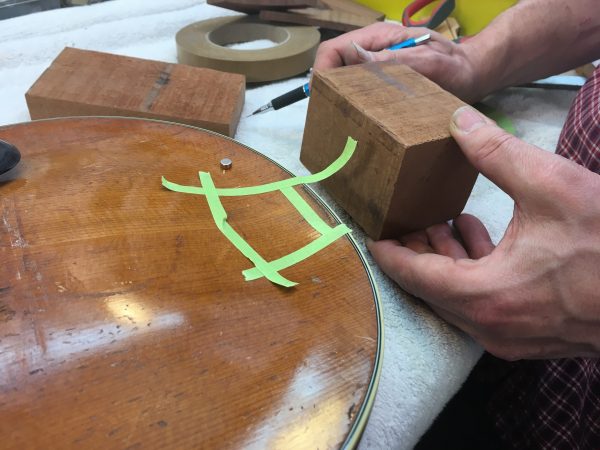
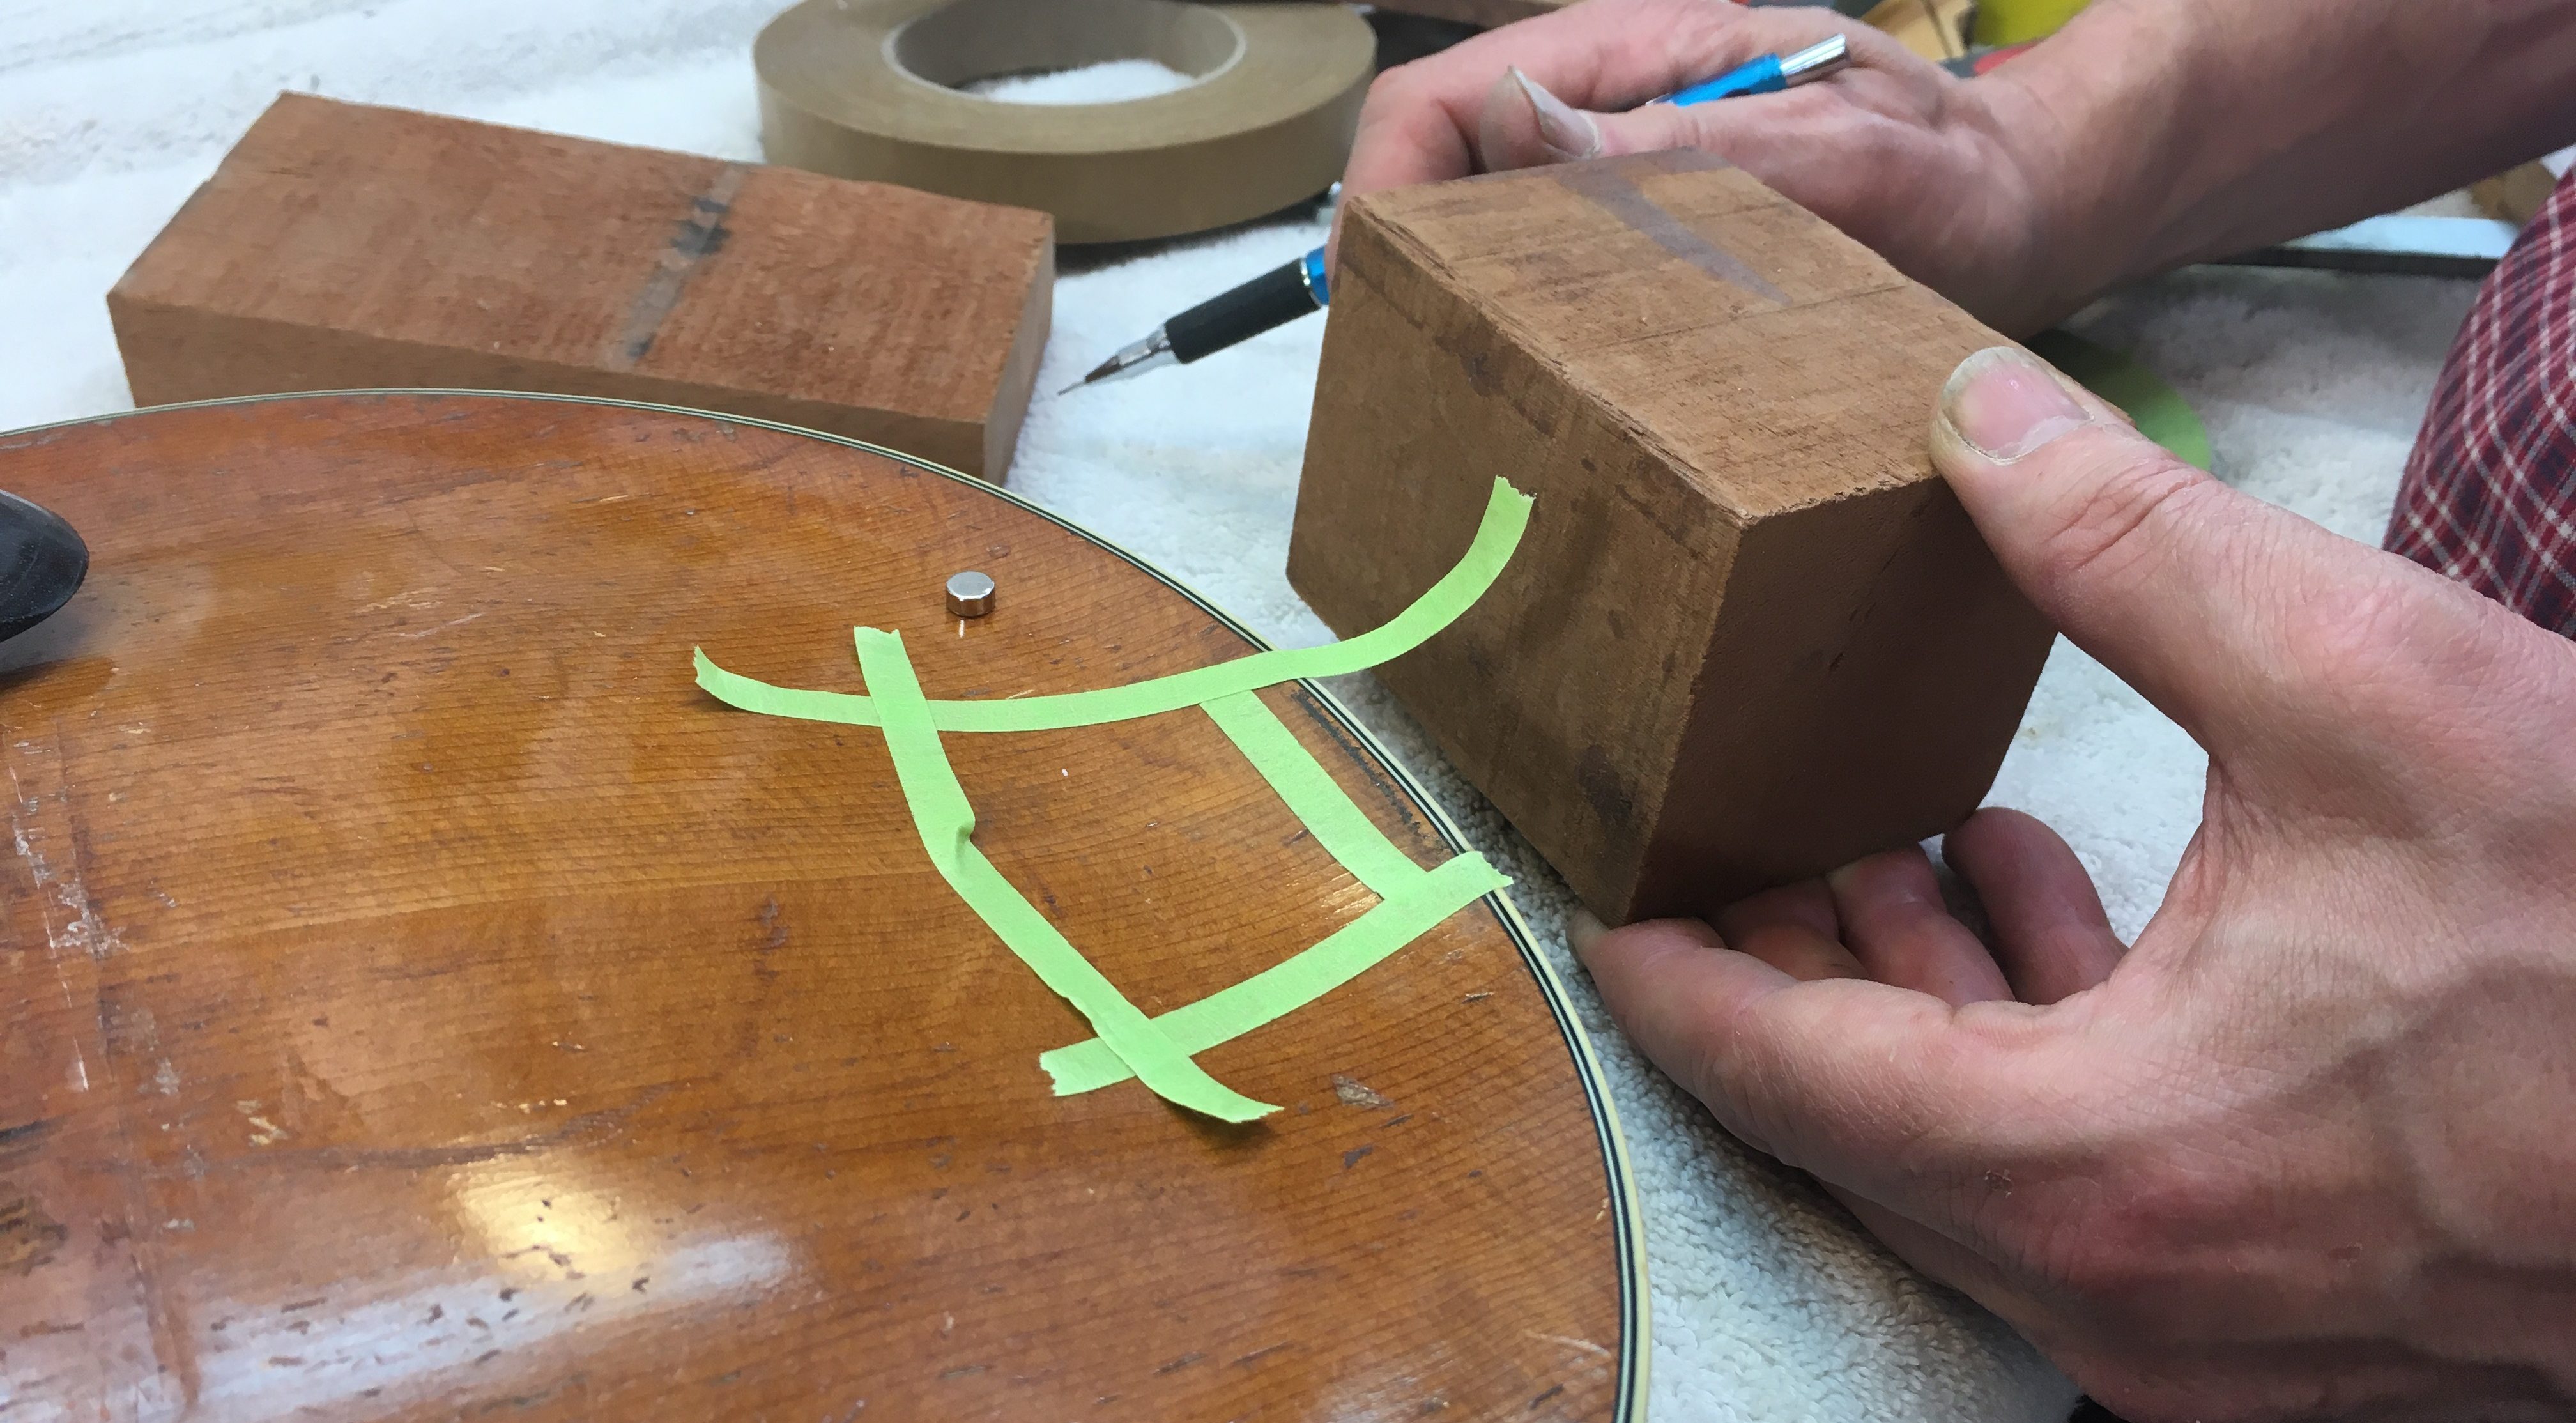
- Making a new tail block
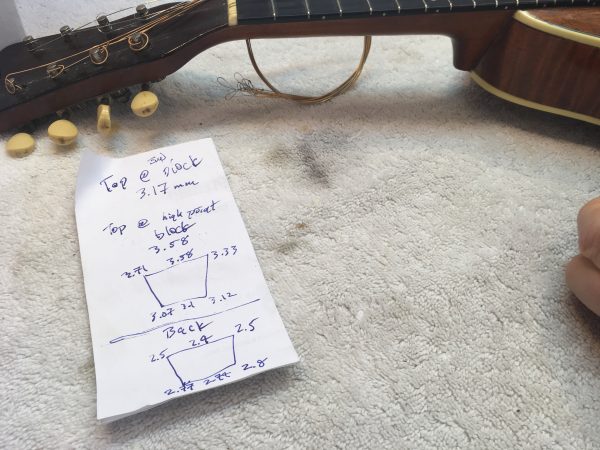
- Tail block measurements
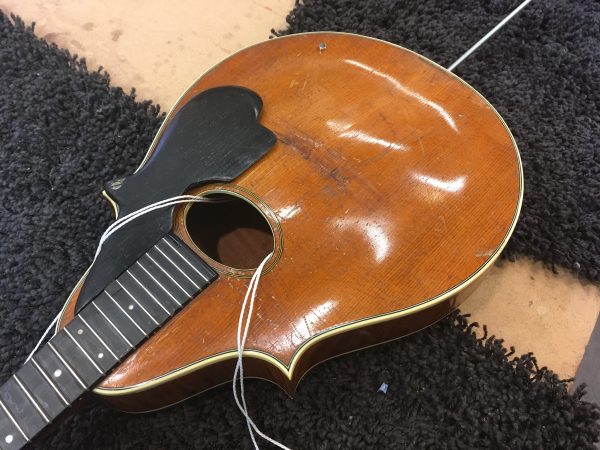
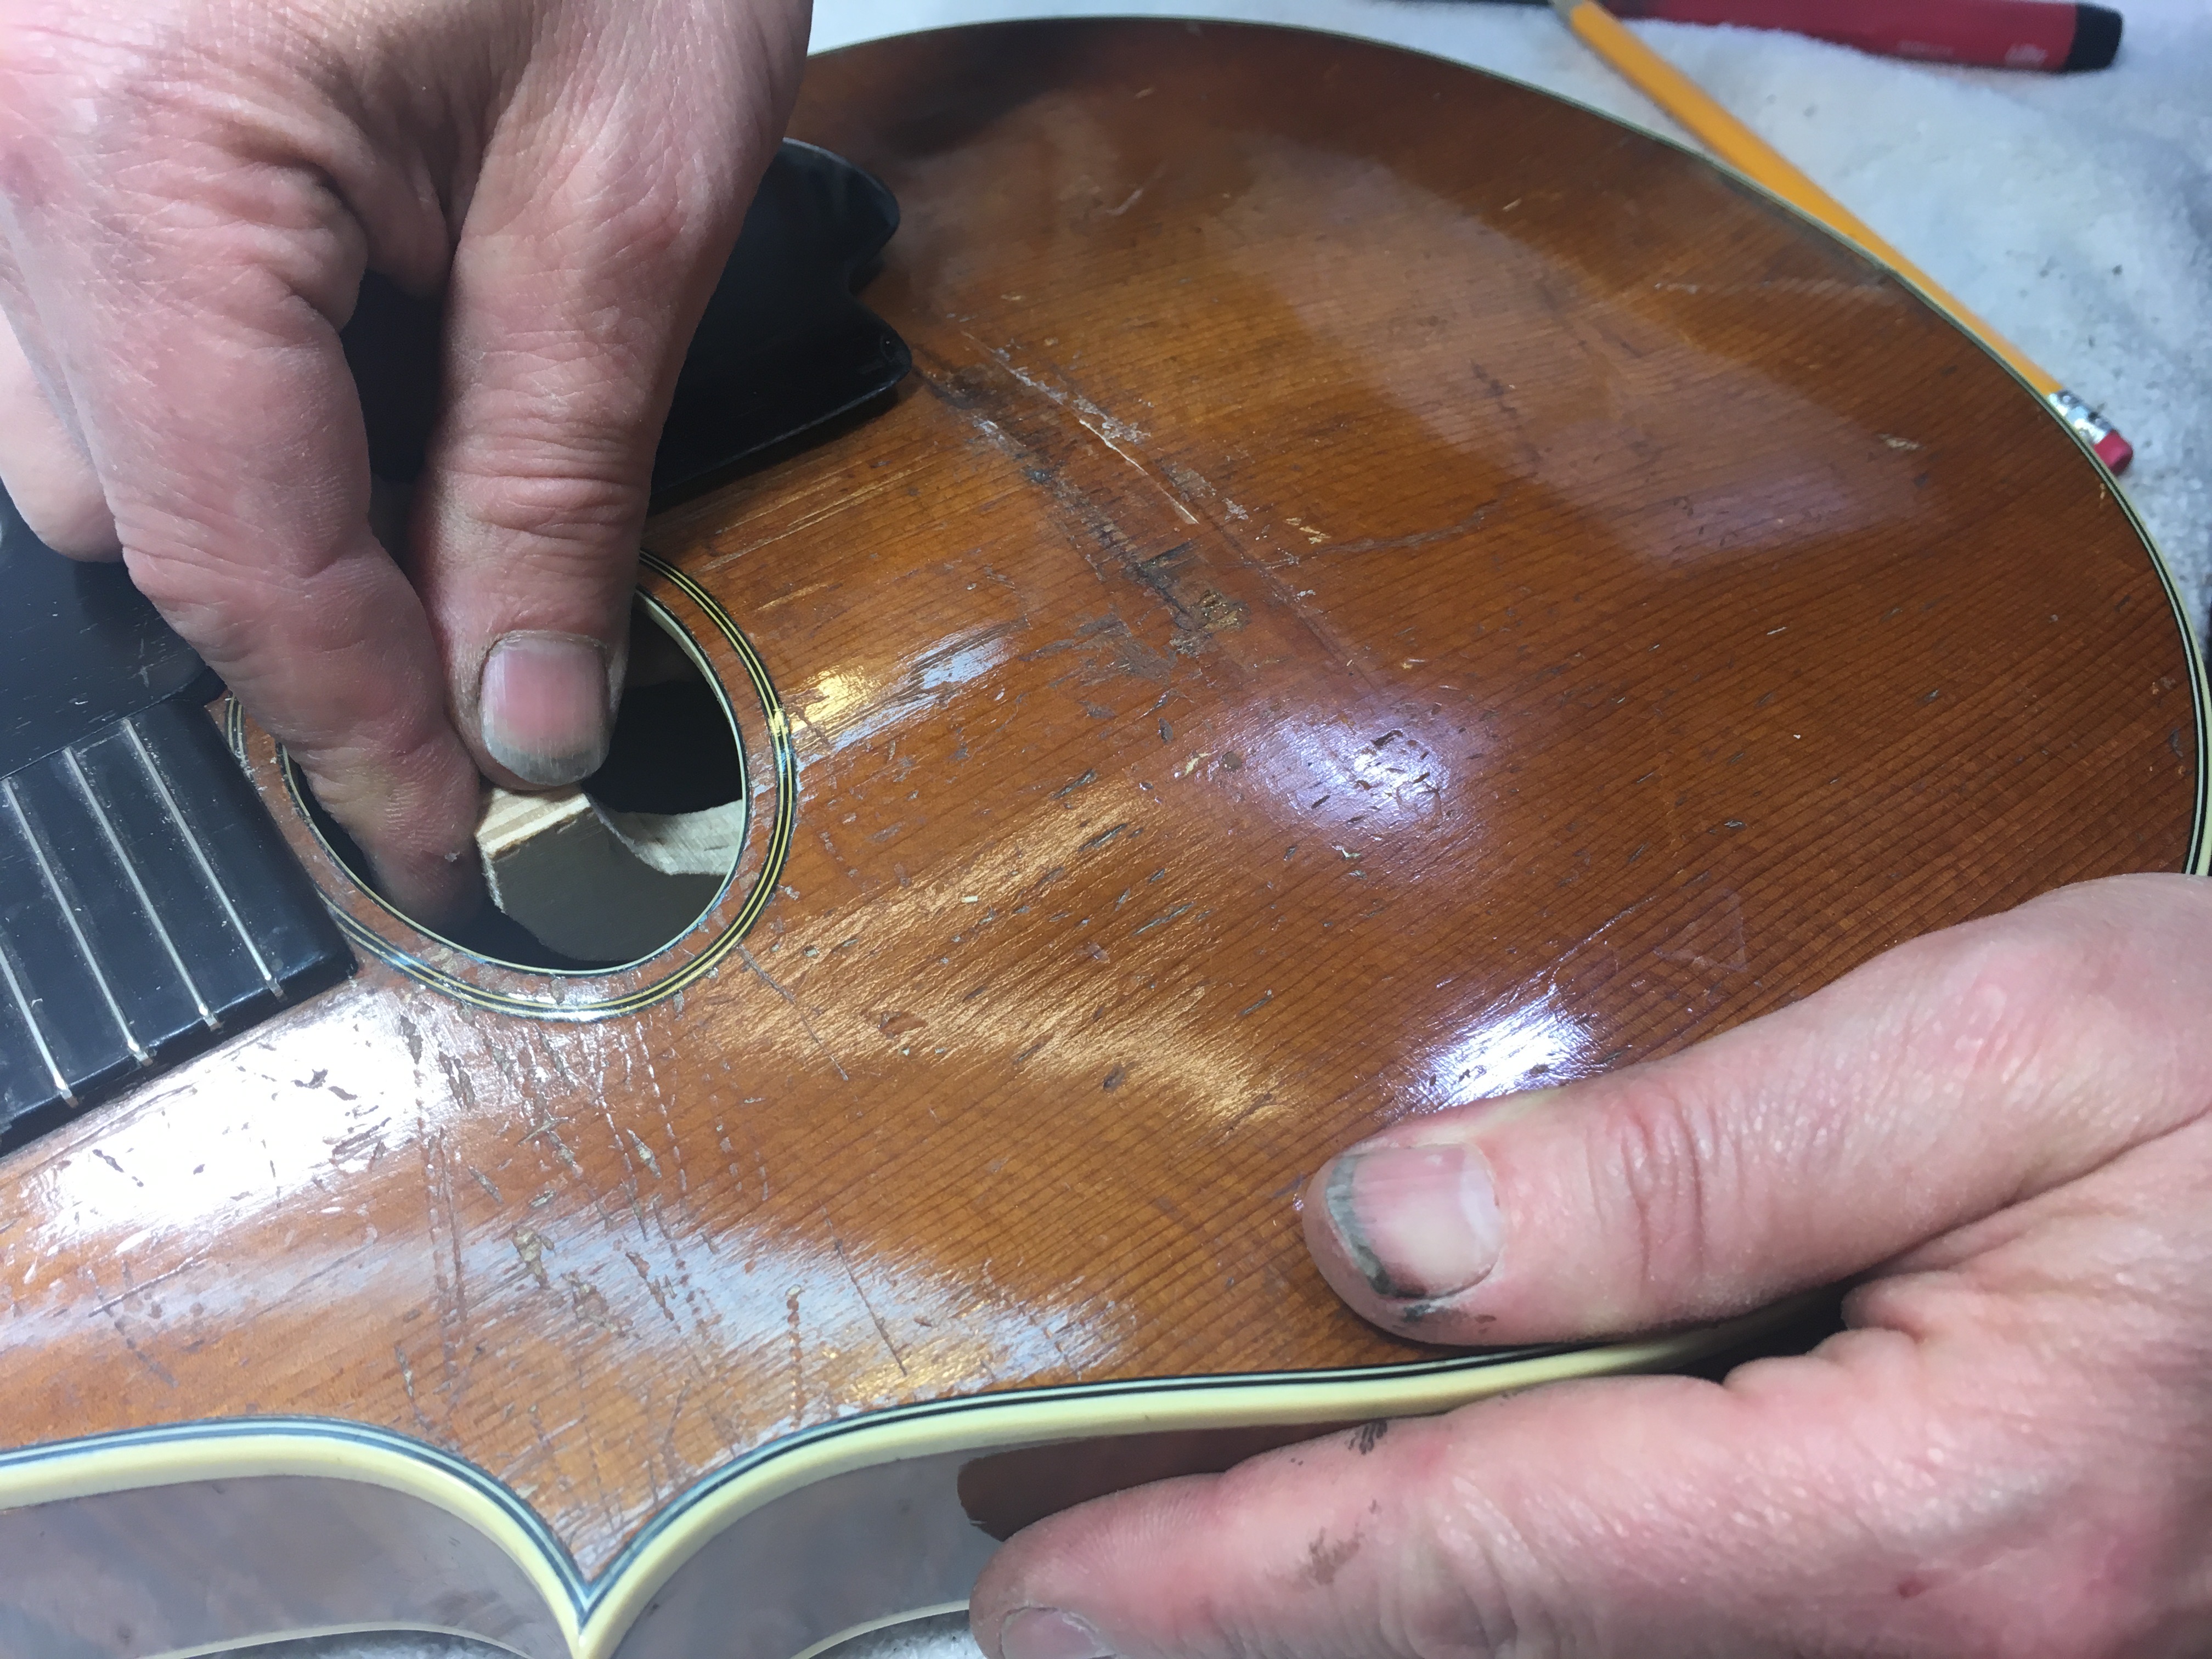
- New tail block pulled through body
- Measuring original fret height
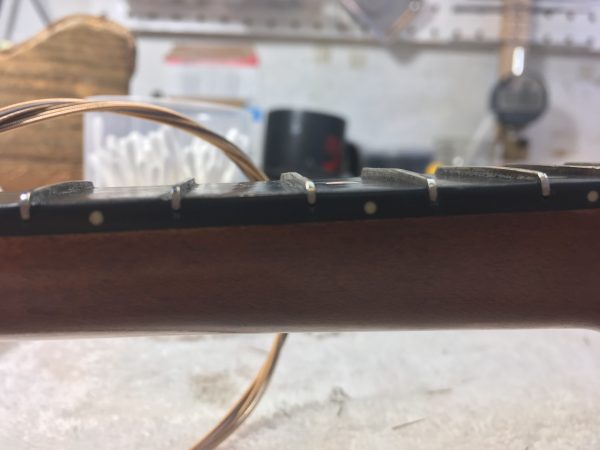
- Frets lifted and ready to level
With a functional top and newly leveled frets, this old mandolin is playing and sounding as sweet – if not sweeter – than the day it was made almost 100 years ago. And after it’s makeover, this thing is good to go for another century!